Both of my children have been playing Minecraft for way too many years. Over time I’ve learnt bits and pieces, especially about running servers. As they have matured their requirements for servers have become more advanced and more often.
So much so, I’ve been trying to get them to manage their own. Which has been a failure. The learning curve too steep. Which led me to build my own solution.
Today I give you “Minecraft Shop”. (mcshop for short).
You can find the container on Docker Hub and the code with more instructions on Github.
I build the container for both ARM64 and AMD64 architectures as I ran the Server(s) on AWS Graviton2 EC2 instances.
Installation
Server running Docker
Really all you need is a server running docker. This can be ARM64 or AMD64 based.
Generally you can use something like the following to install Docker.
#Debian based systems
sudo apt install docker.io

#Amazon Linux 2 based
sudo amazon-linux-extras install docker

# For Fedora based systems
sudo dnf install dnf-plugins-core
sudo dnf config-manager --add-repo https://download.docker.com/linux/fedora/docker-ce.repo
sudo dnf install docker-ce docker-ce-cli containerd.io
Directory to store Minecrafts
Then you need a directory for Minecraft servers to be setup. e.g. /var/lib/minecraft
sudo mkdir -p /var/lib/minecraft
And you need enough space to house a few Minecraft servers, their logs, world save and configuration.
The mcshop Container
Pull the server from Docker Hub.
docker pull gergnz/mcshop:latest
DNS/Domain/Host
You will need a host/domain name configured with the IP that the container will be using as it will use Let’s Encrypt to grab a certificate. If you aren’t doing anything special this will be the public IP assigned to your server.
Container volume for user data & certificates
Lastly, you’ll need somewhere to store the db that holds the usernames/passwords to access the system and the Let’s Encrypt certificates.
docker volume create mcshopdb
Running
One you have everything in place, above, let’s start the container.
docker run -d \
-e DOMAIN_HOST=mcshop.example.com \
-e BIND_IP=172.30.0.27 \
-e MC_HOME=/var/lib/minecraft \
-v /var/lib/minecraft:/srv/minecraft \
-v /var/run/docker.sock:/var/run/docker.sock \
-v mcshopdb:/data \
-p 80:80 \
-p 443:443 \
--privileged \
--name mcshop \
--restart=always \
gergnz/mcshop:latest
There is also a docker-compose file in the repository, if you’d prefer that method.
Initial Login
Now you can browse to the host name you chose earlier. In this post we are using https://mcshop.example.com.
You Should get the index page:
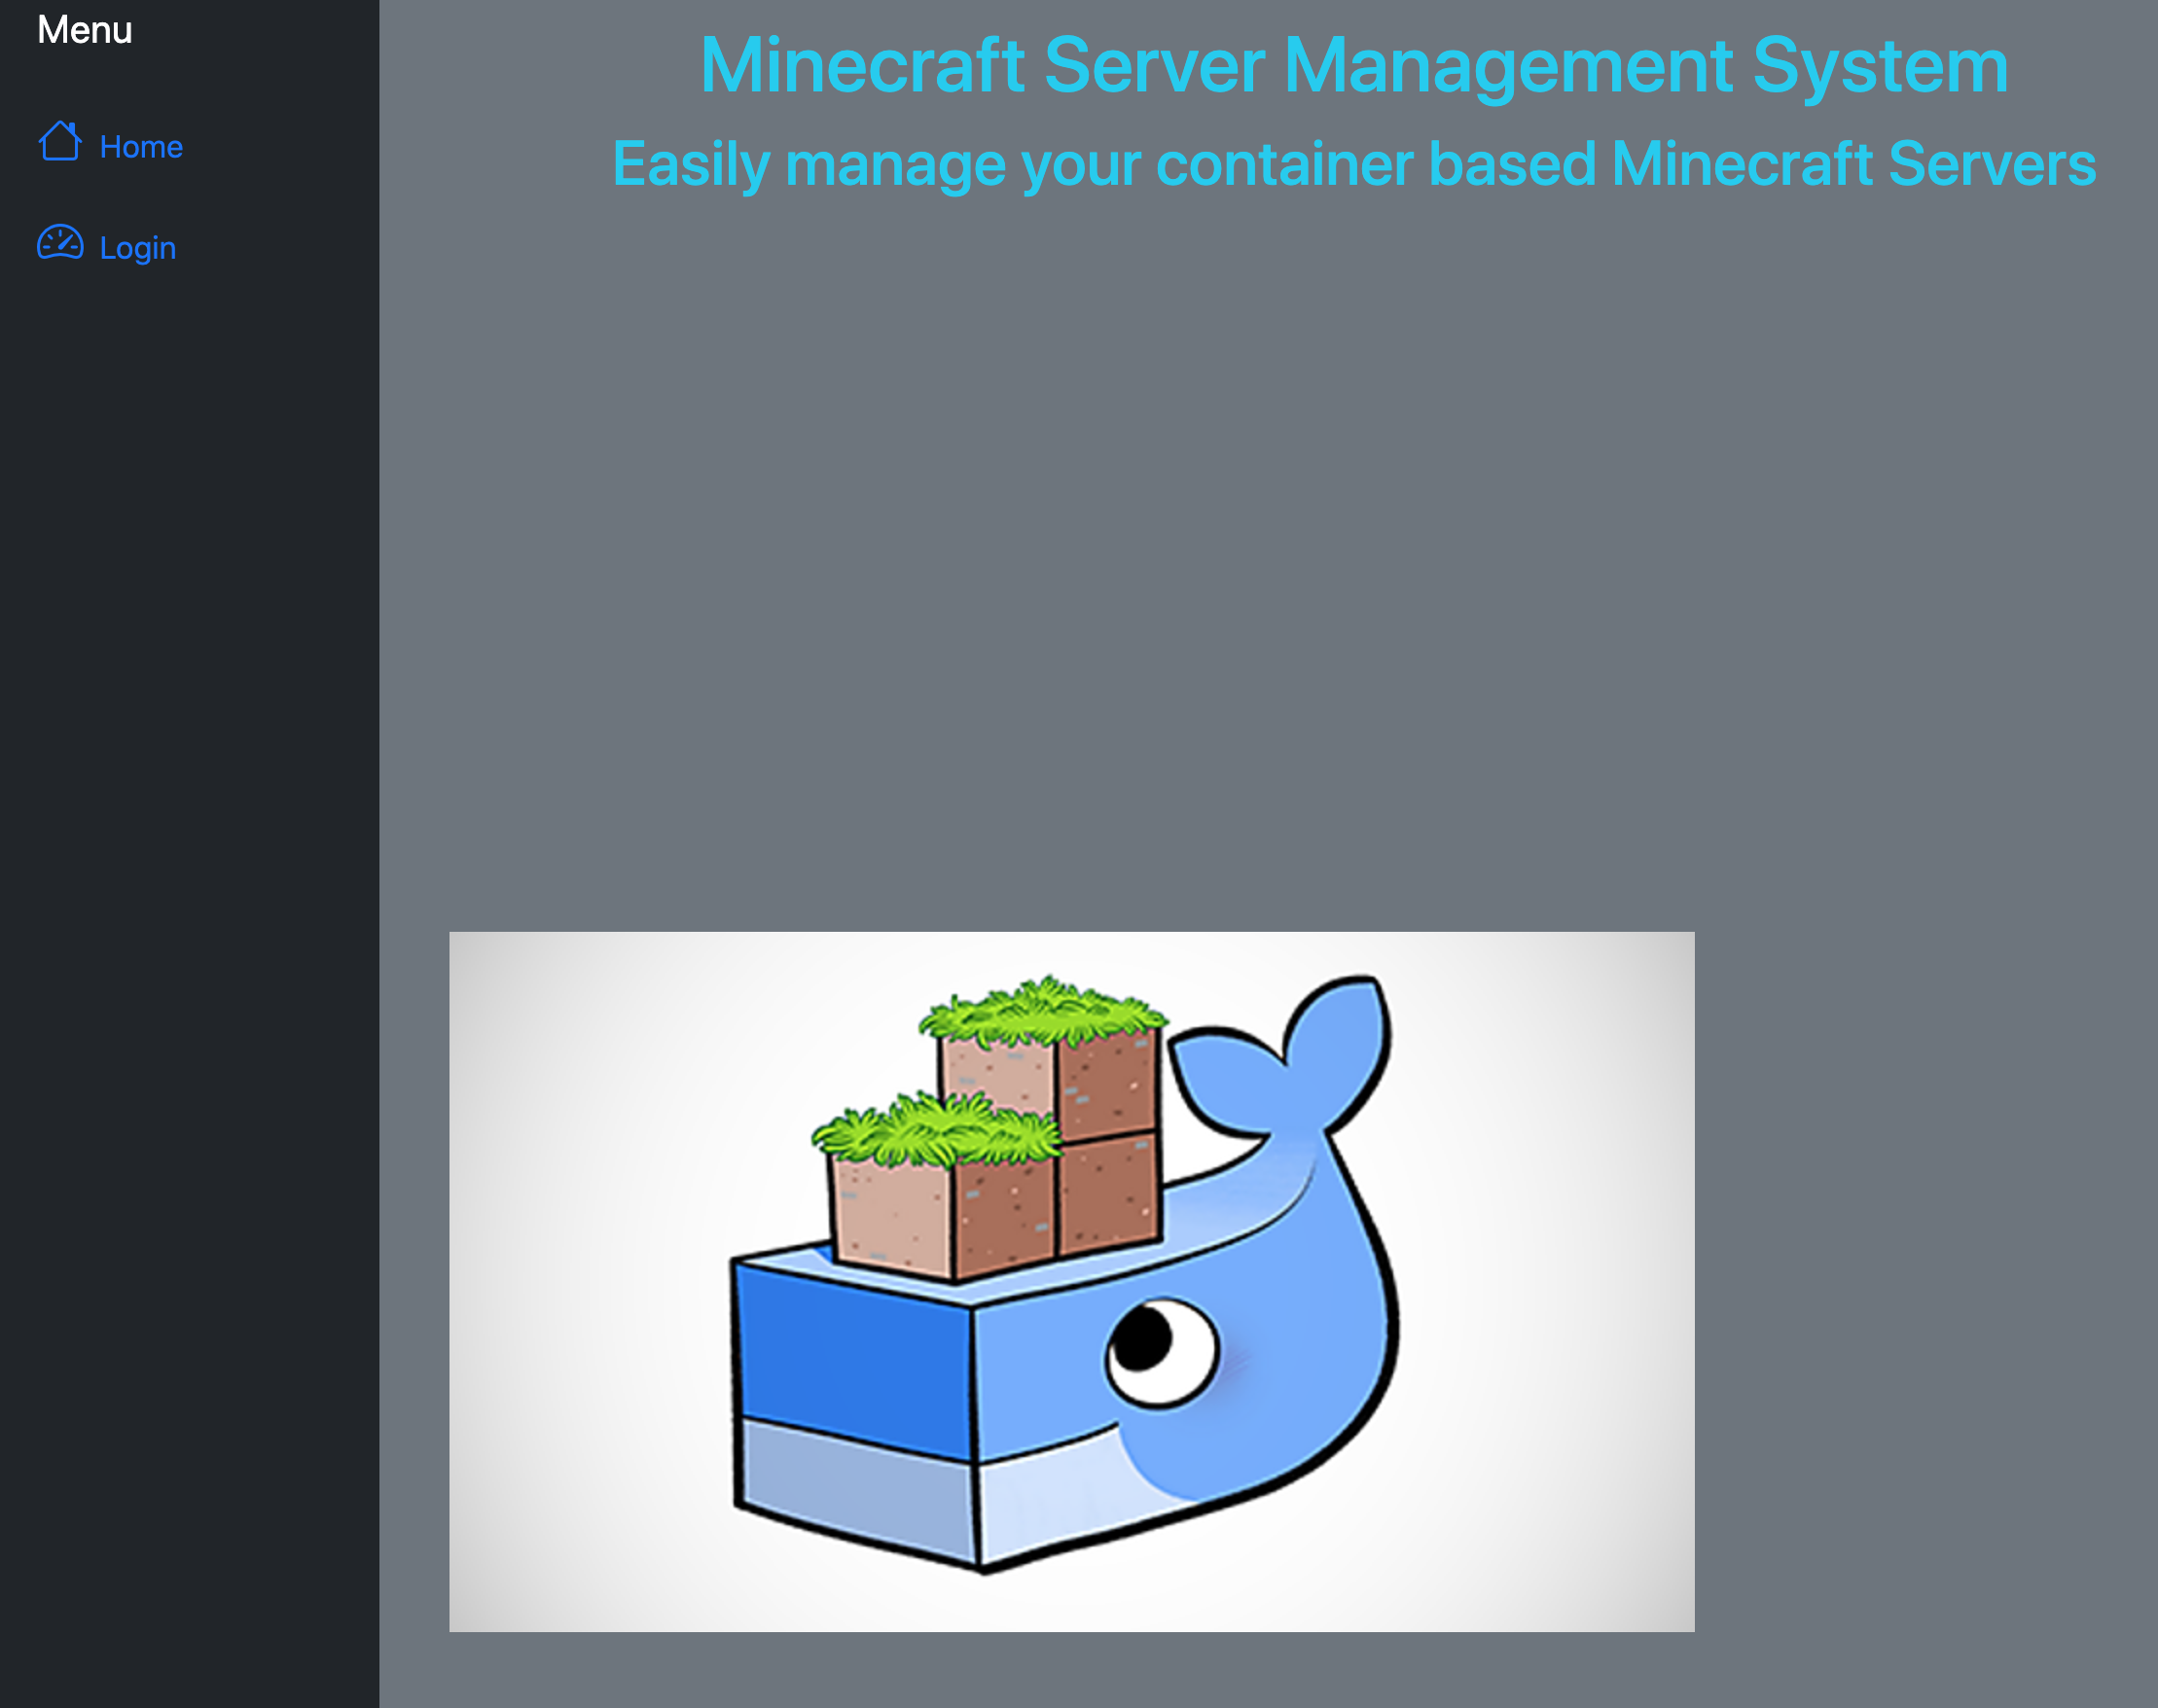
In the menu on the left click Login.
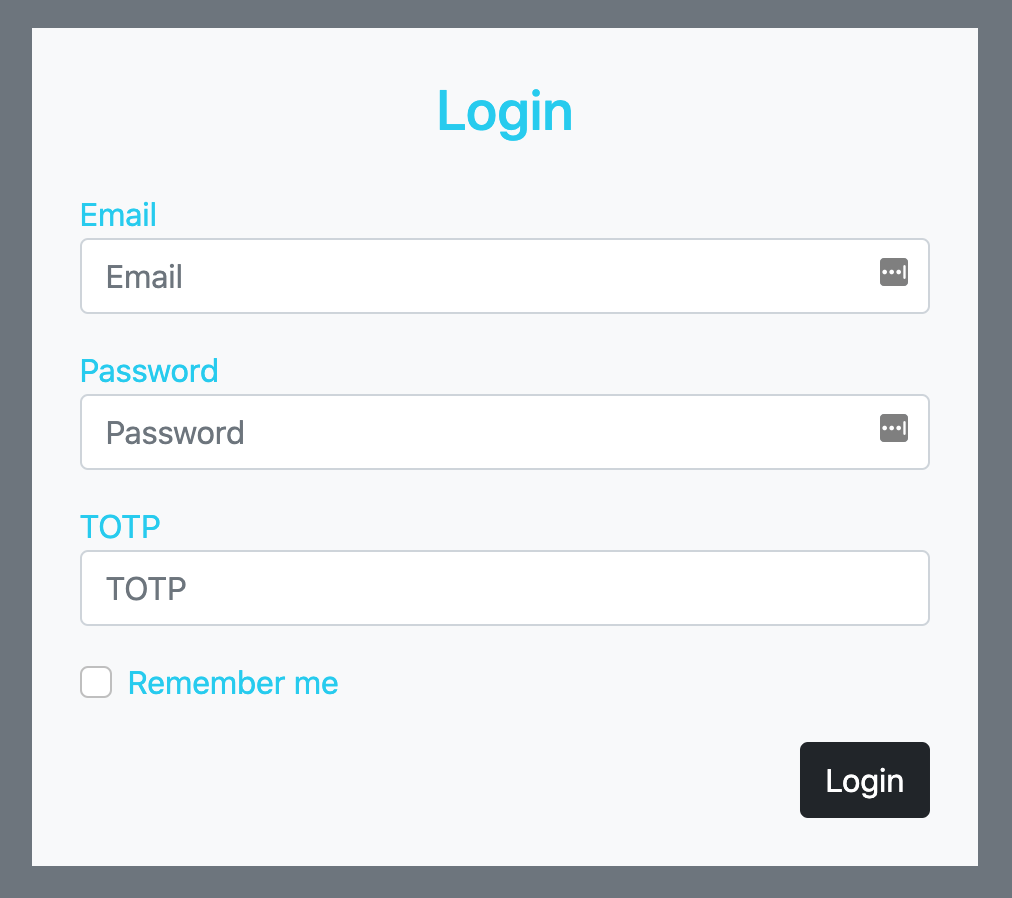
The first username/password is:
- u: admin@example.org
- p: admin
No TOTP token.
You’ll then first need to Setup TOTP using something like Authy, Google Authenticator or many other tools/apps that support TOTP. Once setup successfully you’ll automatically be logged out and you’ll need to login back in with your TOTP credentials.
Creating Servers
New server instances can be created by clicking on New Server from the menu on the left.
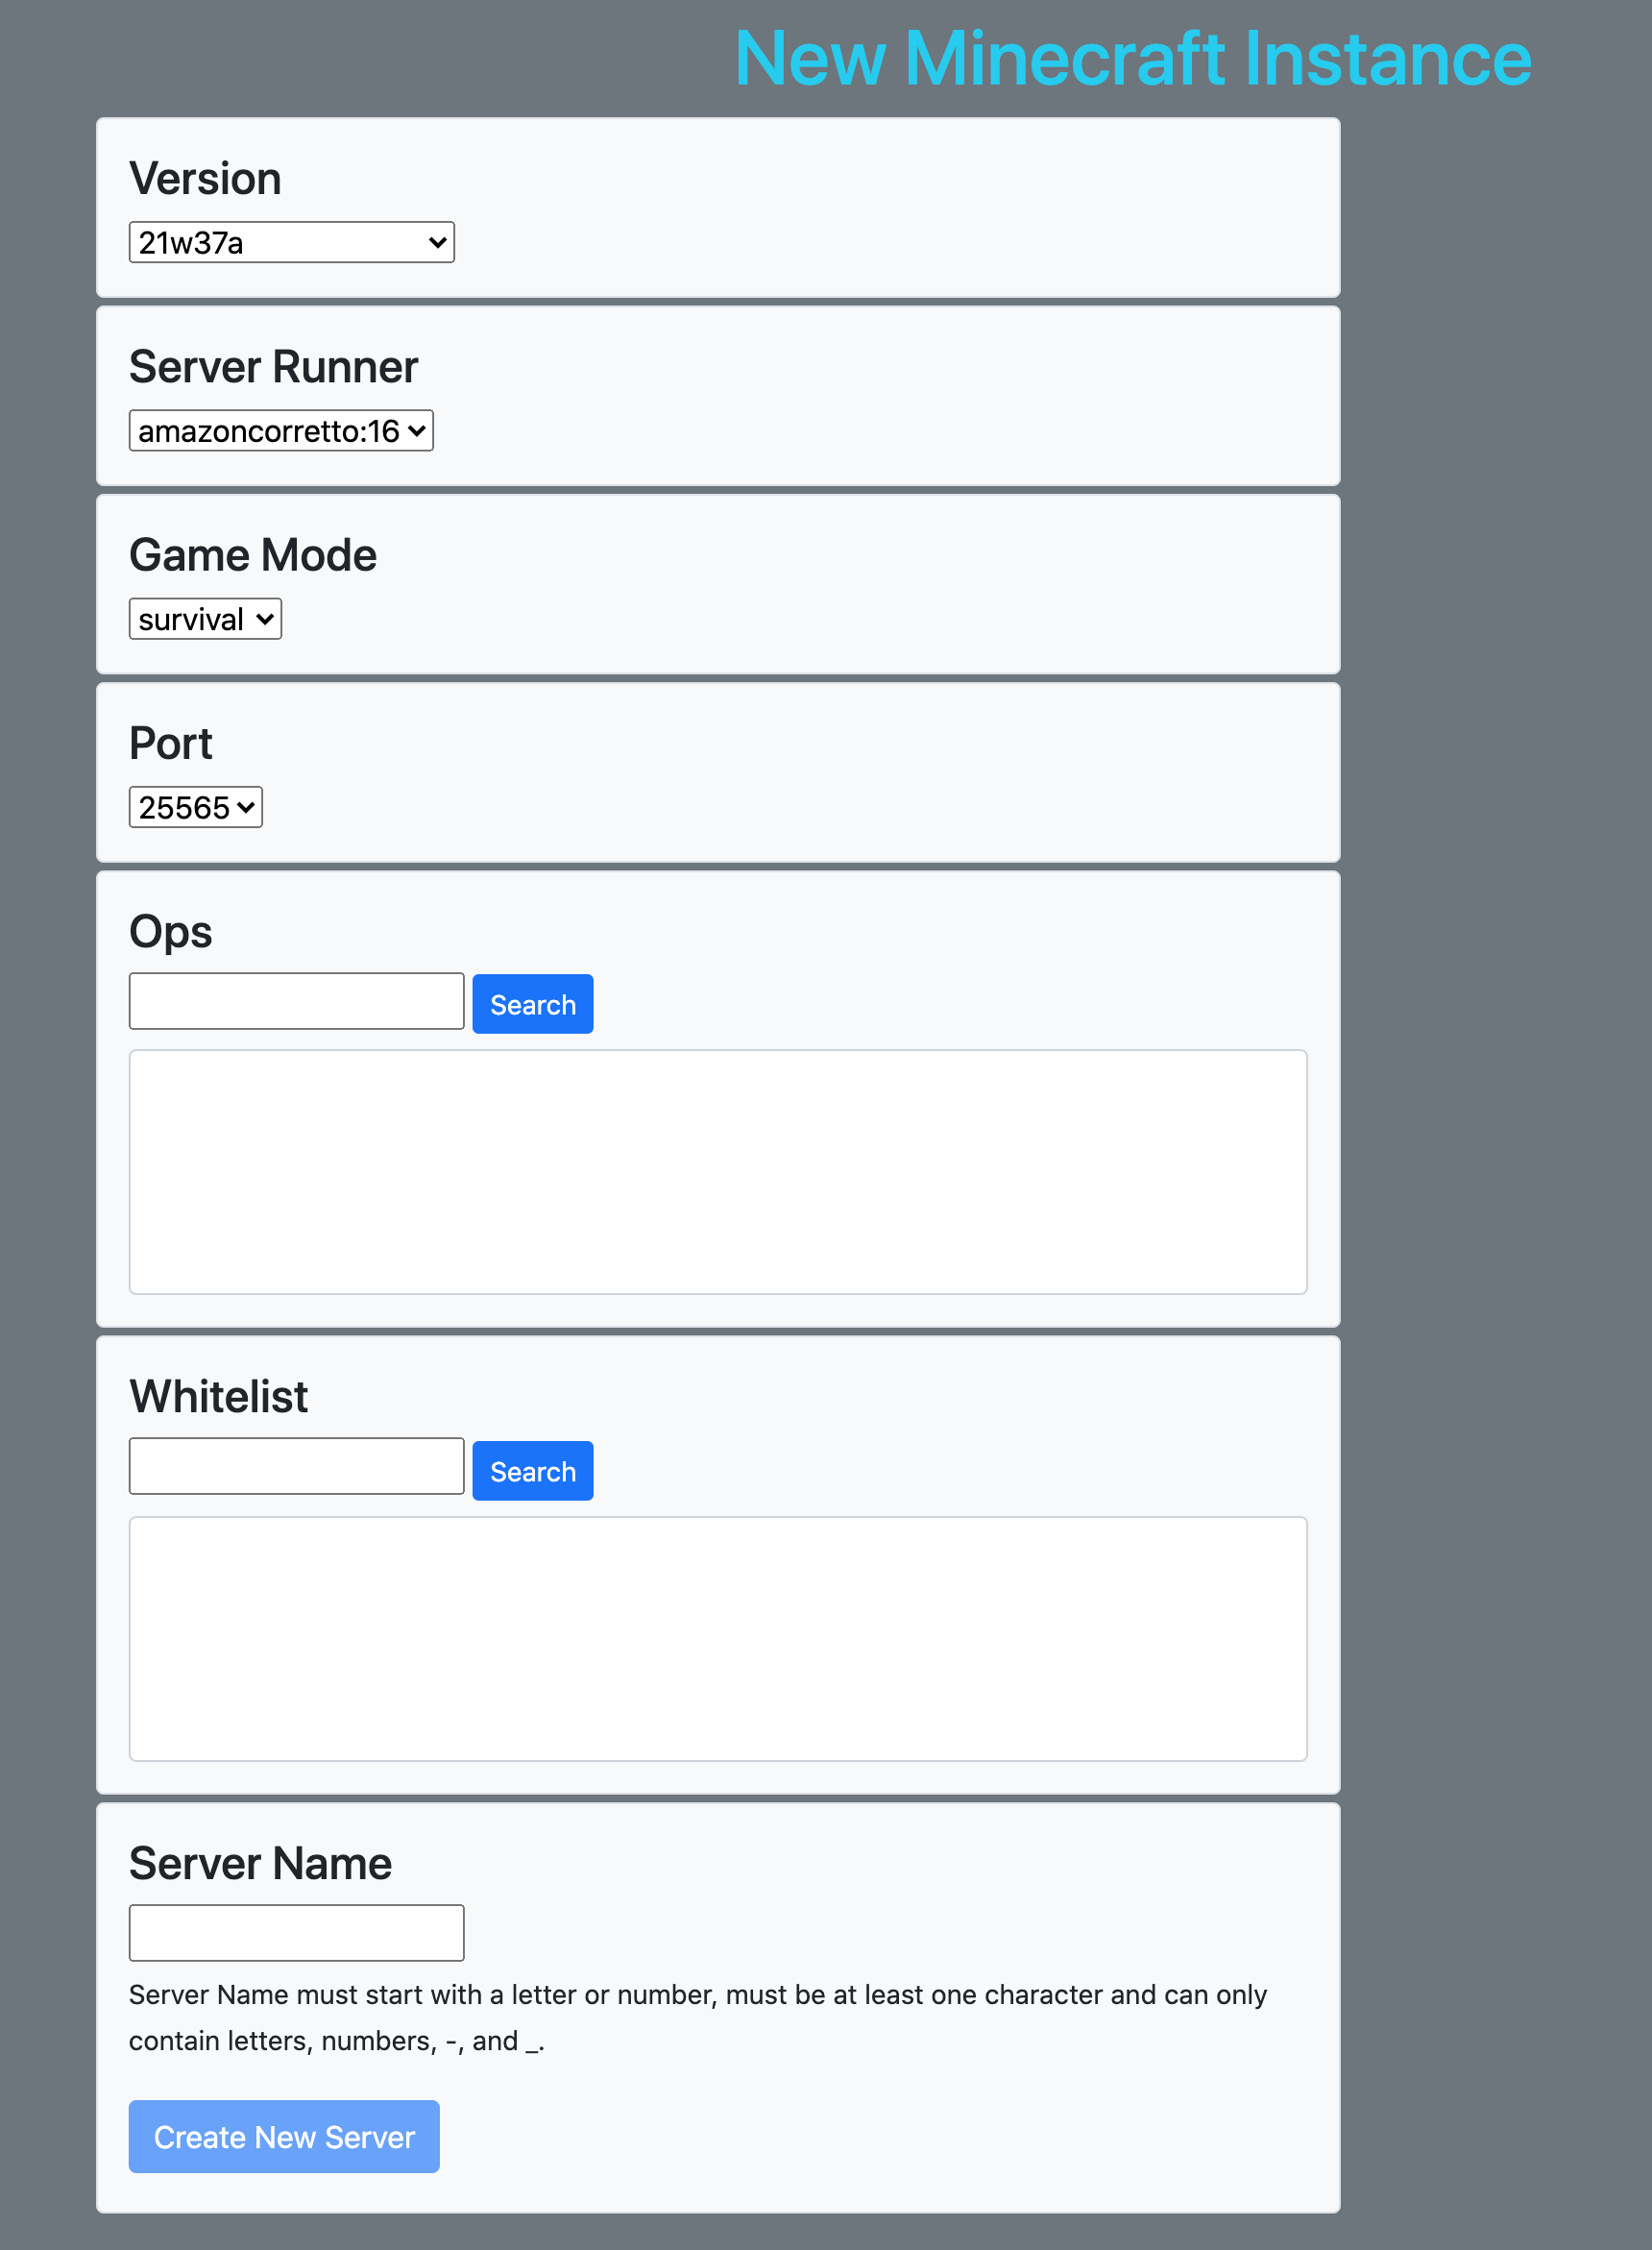
Version
Pick the server version from the list. This is up to date at the time of page loading. It is pulled from official Minecraft Mojang sources.
Server Runner
Server Runner is the container to run Java from. Currently the only supported type is amazoncorretto:16.
Game Mode
You can pick between survival and creative. This is written in to server.properties.
Port
Currently this is a fixed list:
- 25565 (default)
- 12345
- 54321
Make sure you open these ports on your hosts OS and/or cloud service provider.
Ops
You can search for users by their username and this will populate the Ops and Whitelist select lists along with their UUID if they are valid.
If you then decide you don’t wish to use these people you may deselct them.
This will populate the ops.json file with those to start with operator privileges.
Whitelist
This works the same way as Ops does, but only populates whitelist.
When this is saved it will populate the whitelist.json file.
Server Name
Give your server an interesting name. This will become level-name and motd in server.properties. This will also be the name of the folder and container.
Managing Minecraft Instances
In this section of the application you can manage your defined Minecraft Instances.
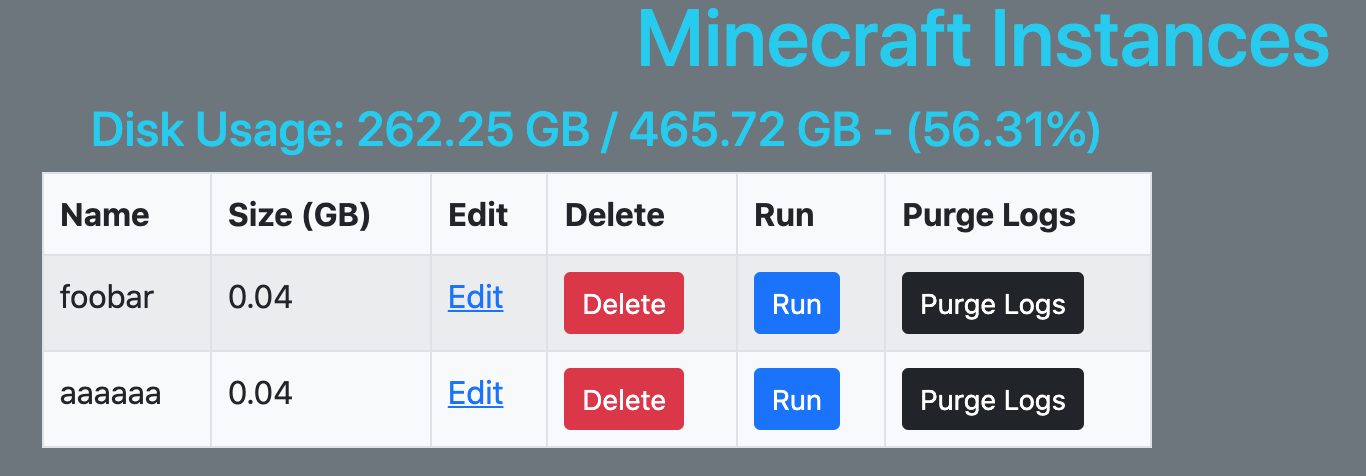
You can do the following activites
- Edit
- Run
- Delete
- Purge Logs
Clicking Edit will take you to another page where you can edit the ops.json file and whitelist.json file.
You can also raw edit the server.properties file. But be careful, as changing this might have unknown consequences.
Clicking Run will start a container, and you can manage this from the Containers section. More on this next.
Clicking Delete will completely remove the instance from disk. There are no backups. You have been warned.
Clicking Purge Logs will remove the logs directory from the instance if it becomes too big.
This page also contains other useful information. At the top of the page you can see total disk space used where the minecraft instances are stored and then each instance has their own usage listed.
Managing Running Servers
On the Containers page, you can see the running or defined container servers.

On this page you can manage the Docker instances.
Status is one of created, restarting, running, removing, paused, exited, or dead.
Image shows you which Server Runner you are using.
Name is the same as the Server Name.
Then you can do the following actions:
- Delete
- Stop
- Start
- Logs
Clicking Delete will delete the container and all it’s logs, but leaves the Minecraft instance on disk. You can run it again from the Minecrafts page.
Clicking Stop will stop the container instance from running, but leave it defined, so you can start it again.
Clicking Start will start the container instance, so you can run your server again.
Clicking Logs will bring up a modal to show you the last 20 lines of logs, and will then track logs from there until you close the modal.
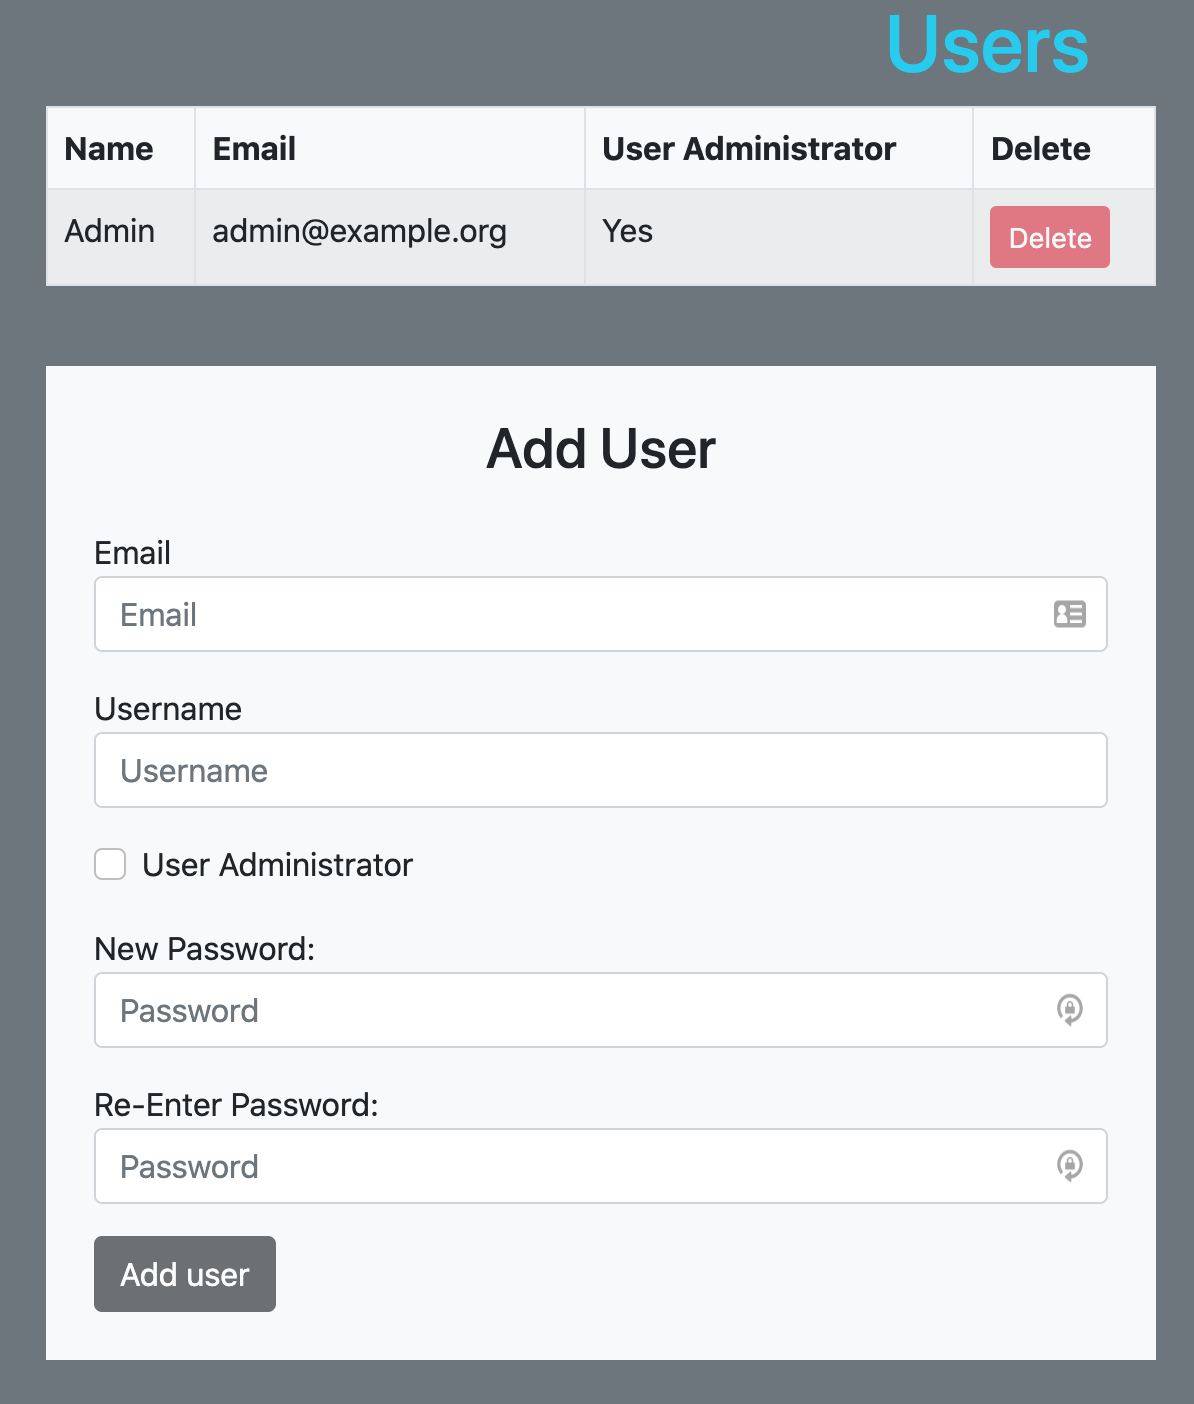
Managing Users
If you are an User Administrator you can delete or add users. At this time there is no option to edit users.
Managing your Profile
Finally you can change your password and setup TOTP.
Be aware that as soon as you click Setup / Reset MFA: you have destroyed the existing TOTP token.
Development
This application was developed using:
- Python Flask
- JavaScript jQuery
- Bootstrap 5
You can simply run flask run from the root directory.
The code can be found here at Github.
Things to be aware of
- This runs as root, and so does the Minecraft servers. I haven’t gotten around to working out a smarter way, but it probably wouldn’t be a lot of effort.
- This software has no warranty, if it causes you to win Lotto, awesome! If it blows up your house, sorry about that.
- There’s no Forge setup, no mod upload, and no world upload.
- There’s no backups. This is up to you.